This year Com Truise released a new album, entitled Persuasion System. Dubbed a ‘mini-LP’, the new album marks a slight change for Seth Haley, as he started using a new DAW and built a new slate of sounds to use. In this article, I’ll look at some of the new synths sounds of Persuasion System.
I’ve previously covered Seth’s sounds in the article Com Truise Synth Sounds, which concentrated mostly on sounds from his 2017 album, Iteration. In that article I wrote a little bit about which hardware synths Seth was using, however there isn’t much info about what he used on the new album. To recreate the patches for the article, I’ll use the software synths TAL U-NO-LX, u-he Repro-5 and Arturia SEM V & Mini V from the Arturia V Collection.
Existence Schematic
Existence Schematic was the first song to be released from Persuasion System and has a similar vibe to the sound on Iteration. The song is built around seriously punchy drums, layers of bright synths, and a huge, growling bass.
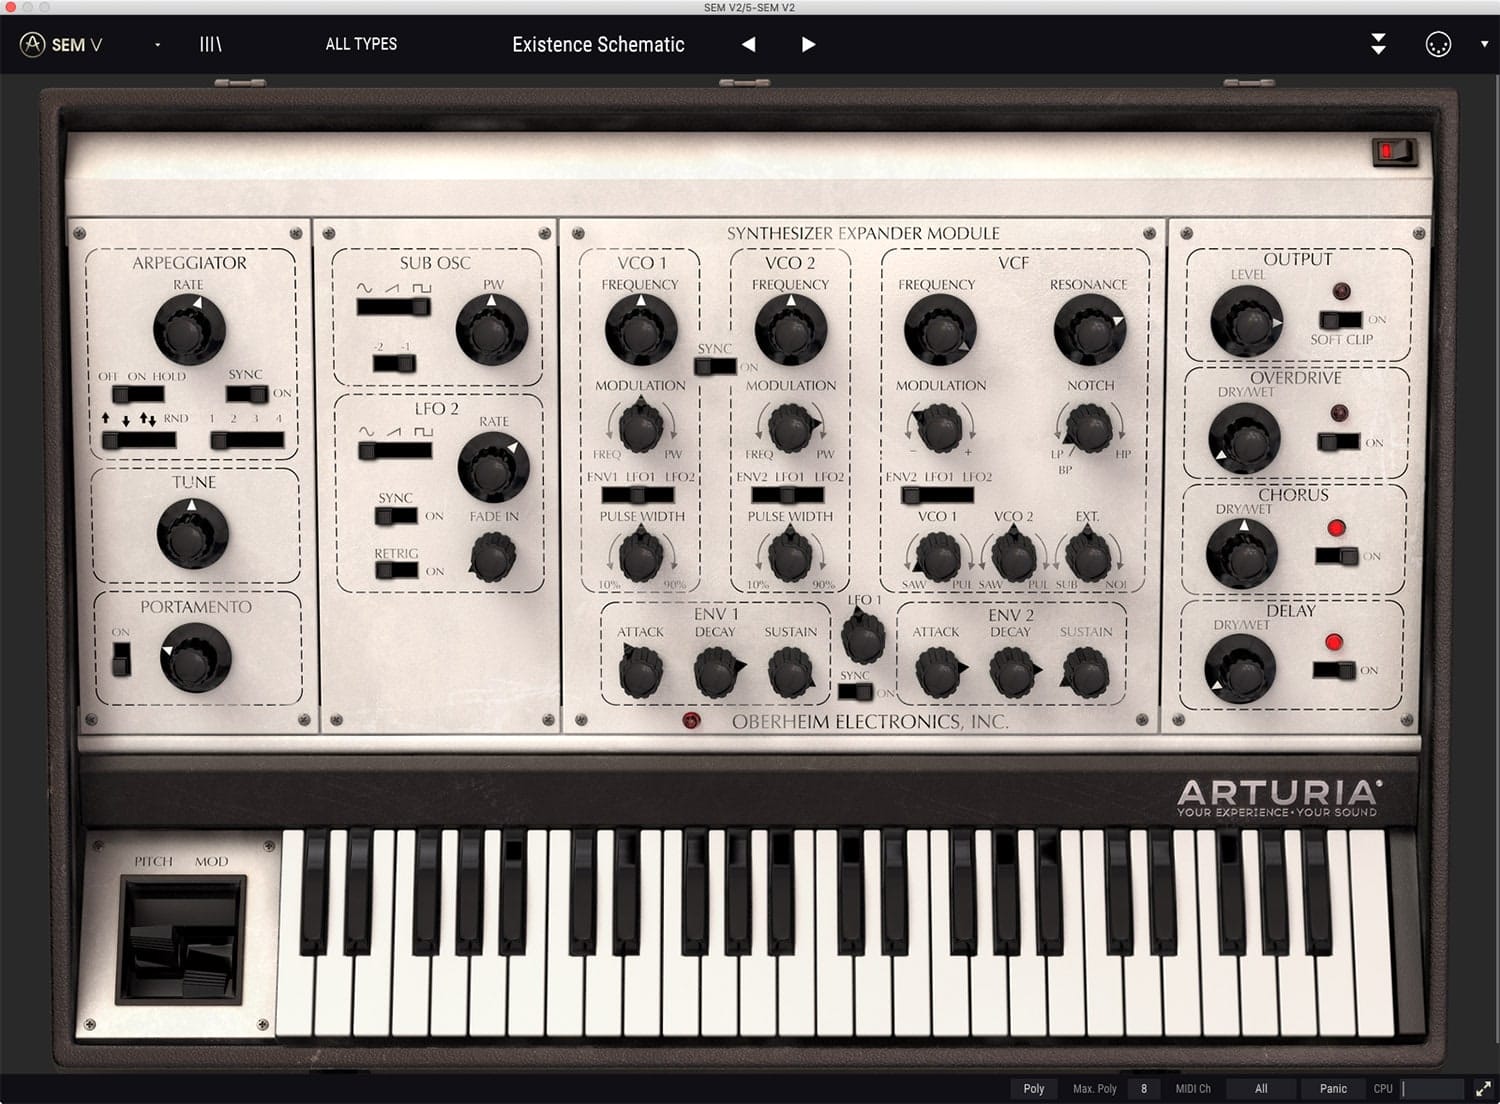
The pad patch in this song is a clever one, and uses inverted filter modulation to make the filter close while a chord is held down, and open up when the chord is released. I tried programming it on a few different synths and found that Arturia SEM V got the closest to the sound. Leave the filter cutoff at maximum and set the modulation knob to -65%. Now set envelope 2’s attack and decay to 2-3 seconds, and sustain to 0. Turn on the chorus effect and raise the dry/wet level to 50% to finish the patch.
Edit: the original song uses Arturia Matrix-12 V for the synth part, as confirmed in his Soundfly masterclass.
- Existence Schematic Pad00:00
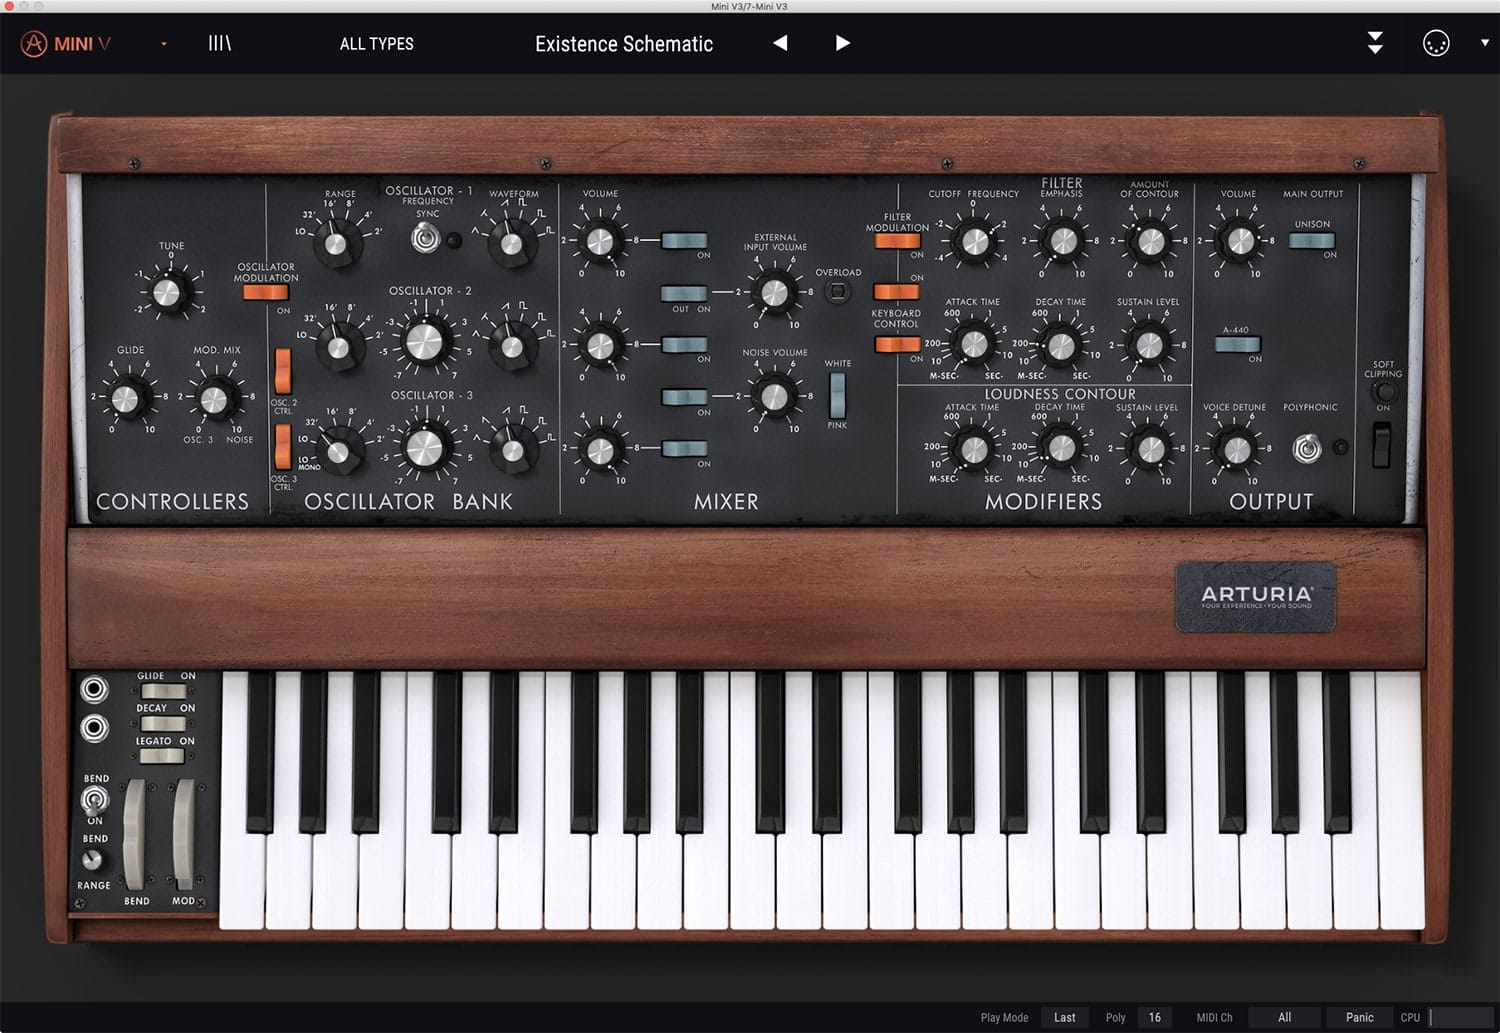
The bass is huge sounding and is also pretty wide in the stereo mix. A great way to achieve this is to use a wide stereo chorus effect on your bass patch, which allows you to add some stereo width, whilst still retaining the pure mono signal, which you can control with the effects wet/dry level. I used an Arturia Mini V sawtooth patch through Ableton Live’s Chorus and found a mix of 40% worked well, although Mini V does also have a good onboard chorus effect. After this, smash the signal with your favourite saturator to overdrive the track, which also helps to smear the chorus effect.
- Existence Schematic Bass00:00
The lead sound is relatively simple and might have come from the same synth as the pad sound, only with a tweaked envelope. Here you want to use a long filter release tail to create movement between notes when you release the keys. I’m using SEM V, but again, you can use any synth.
Use detuned sawtooth waves and bring the cutoff down to 2300 Hz and raise the modulation so that the filter will be fully open at maximum sustain, then add a release time of 1.50s – 1.75s to both the amplifier and the filter envelopes. Now when you release a key, the sound will start to slowly fade out, which allows you to create long, flowing phrases when you play.

Gaussian
Gaussian is a departure from Com Truise’s normal beat-driven synthwave sound and is made up of a beautiful, reverb-soaked synth pad with soft background piano, distant bass rumbles, and samples of a storm.
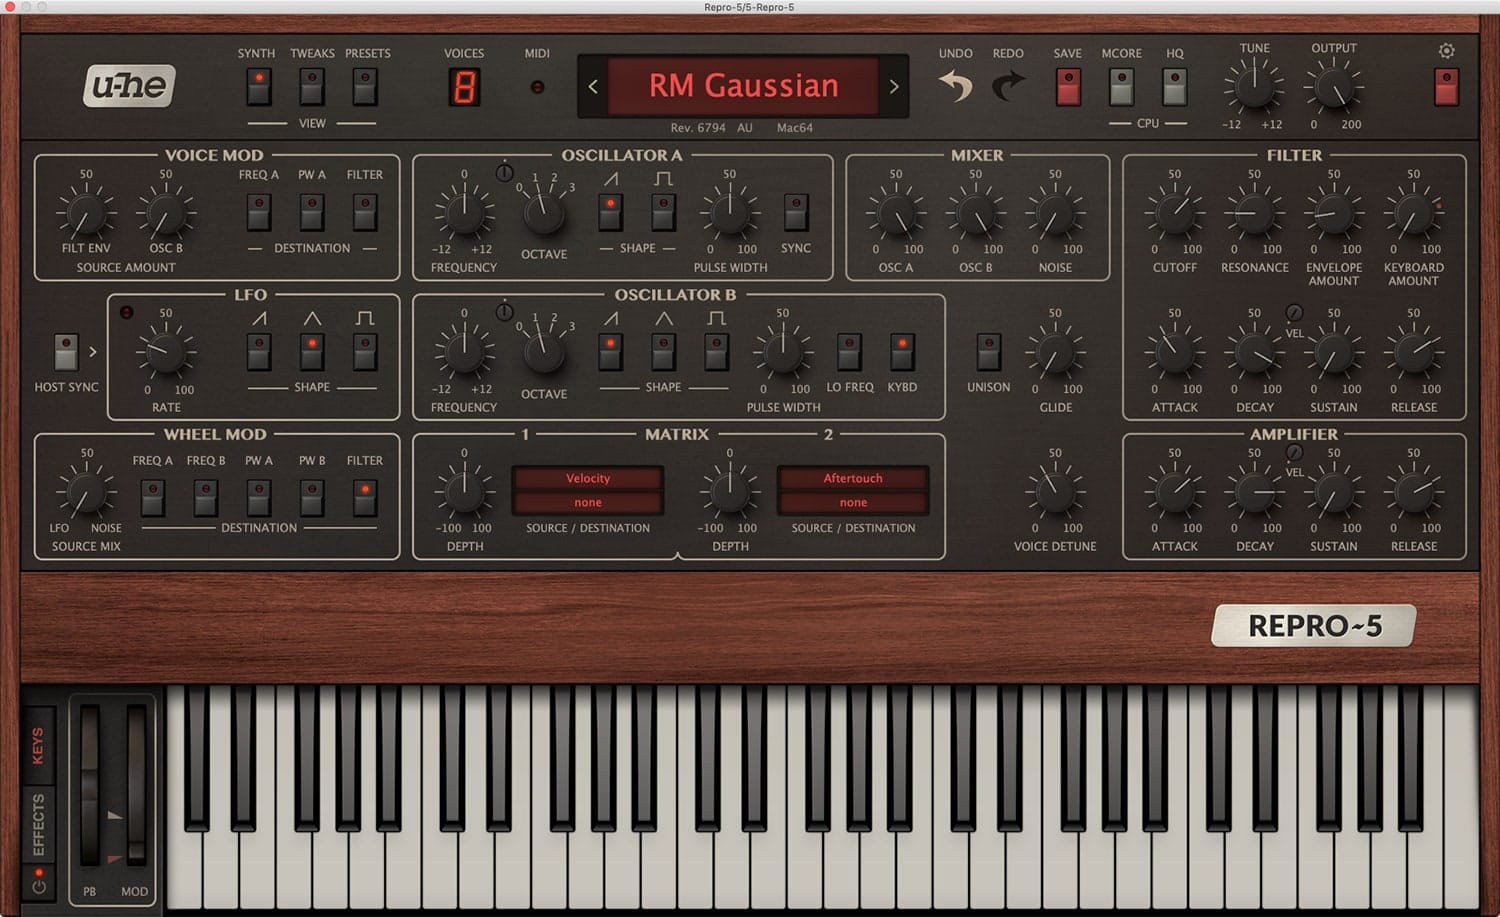
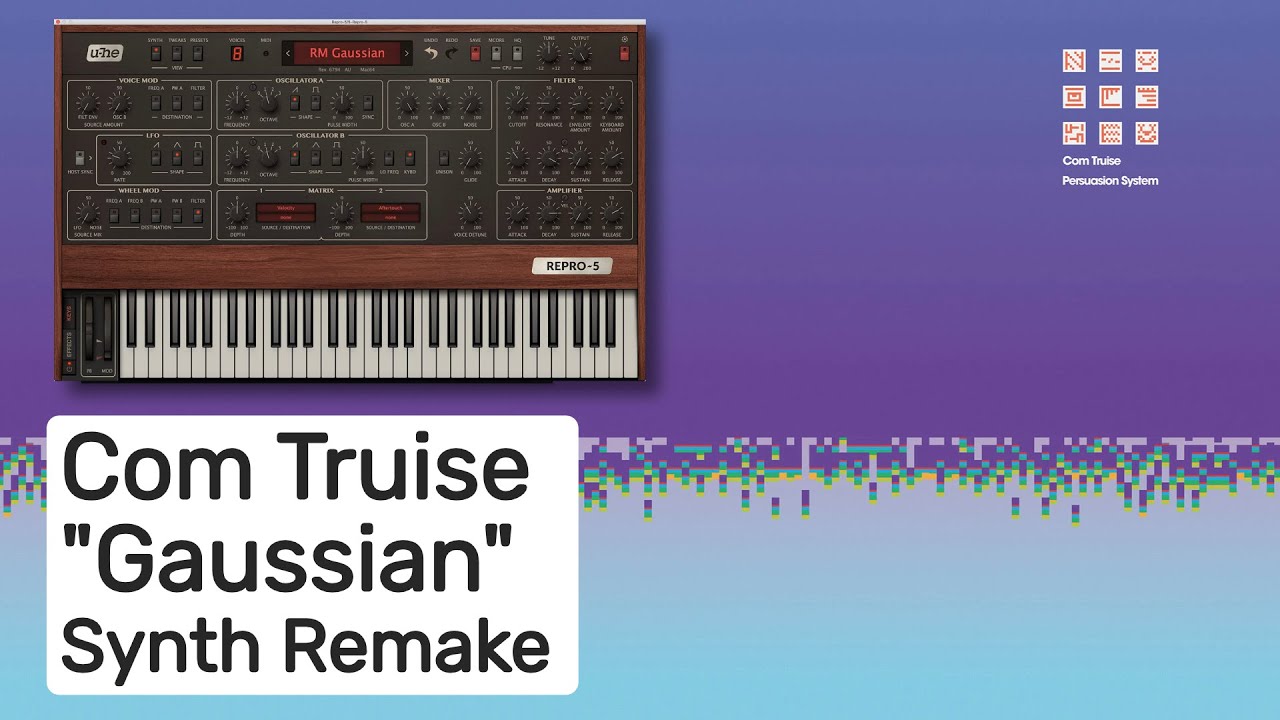
For the basic synth sound, simple detuned sawtooth waves are perfect. Using u-he Repro-5, set the voice detune knob to 11 o’clock, and lower the filter cutoff knob to between 1 and 2 o’clock, with both resonance and envelope amount set to 9 o’clock. Now add some filter movement by setting the envelope’s attack to 11 o’clock, decay time to 4 o’clock, no sustain, and a release time of 2 o’clock. Set the amp envelope to similar settings, with a longer attack time set to 1/2 o’clock. If you want to use Arturia Prophet V, the settings are almost exactly the same. Here’s the basic pad patch so far, completely dry with no effects:
- Gaussian Pad Dry00:00
For effects, I managed to recreate Gaussian’s ambient atmosphere by using chorus, delay and two reverbs, with a few gentle compressors in the mix to even out the sound along the way. Feel free to experiment with different effects and the order of effects, this is just what I found worked for me.
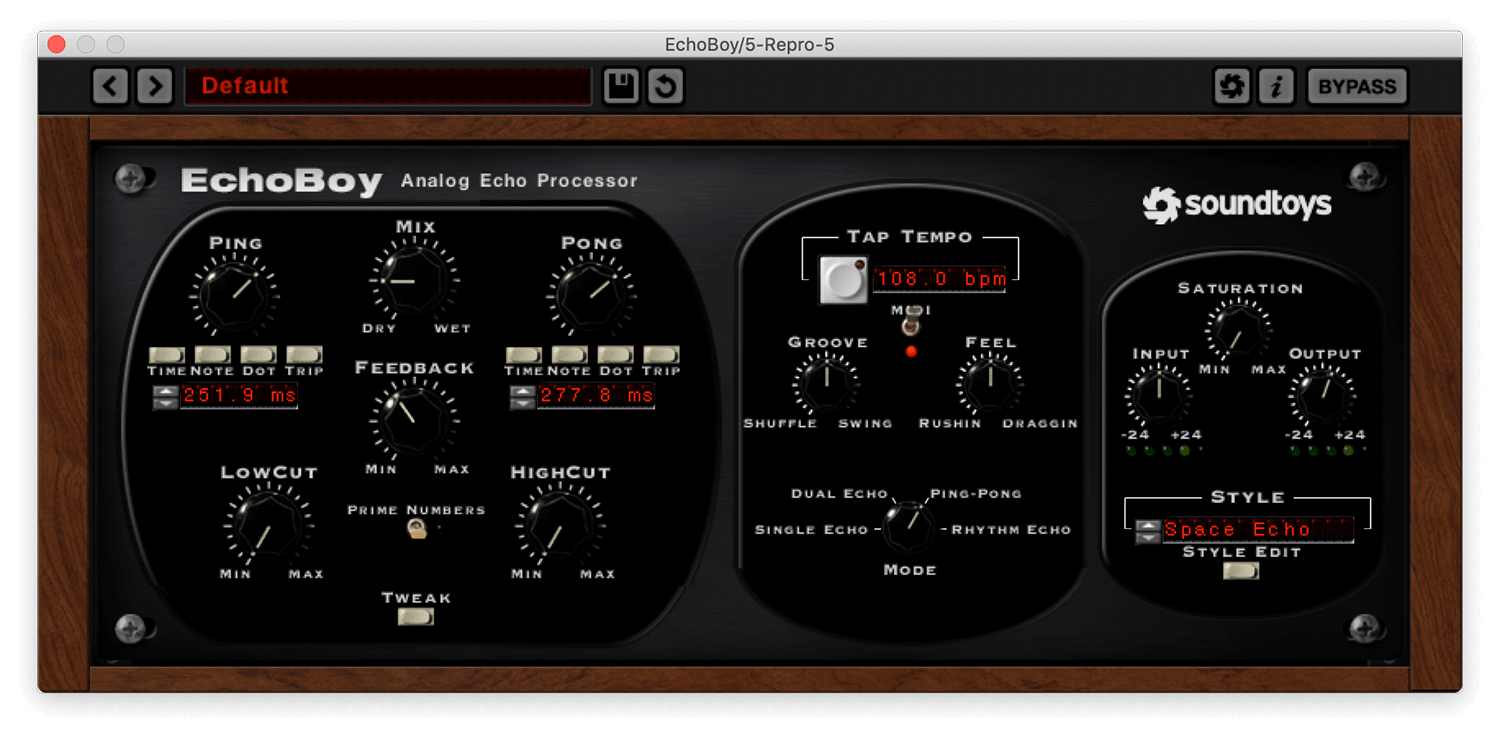
For delay, I used SoundToys EchoBoy on Ping-Pong mode with the Space Echo style. I kept the mix level relatively low at 25%, because most of the space is going to come from the reverbs. The first reverb is the huge one, I used Valhalla VintageVerb’s Huge Synth Hall preset as a starting point, increasing the decay time to 6.38 seconds, lowering the EQ high-cut to 850Hz, and setting mix level to 50%.
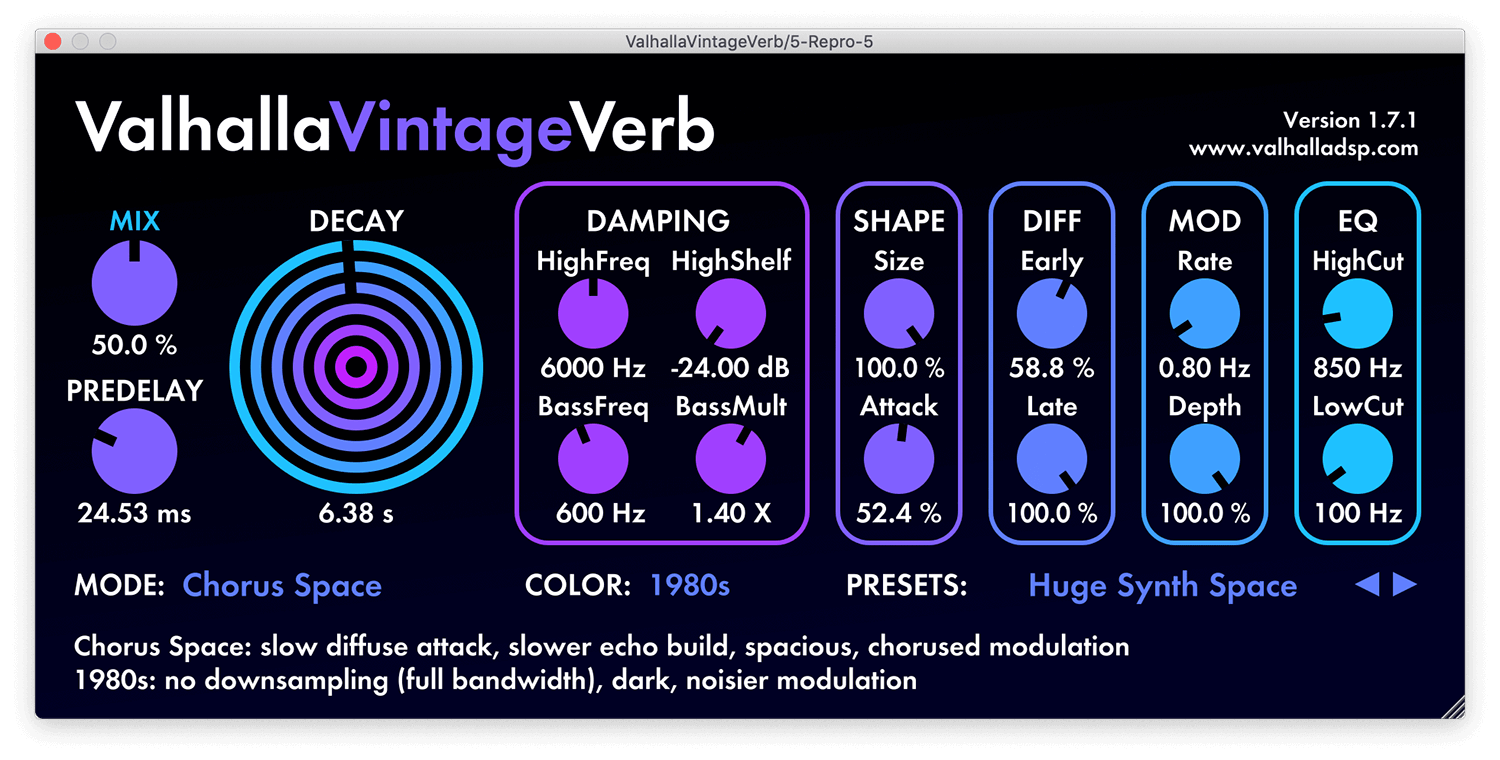
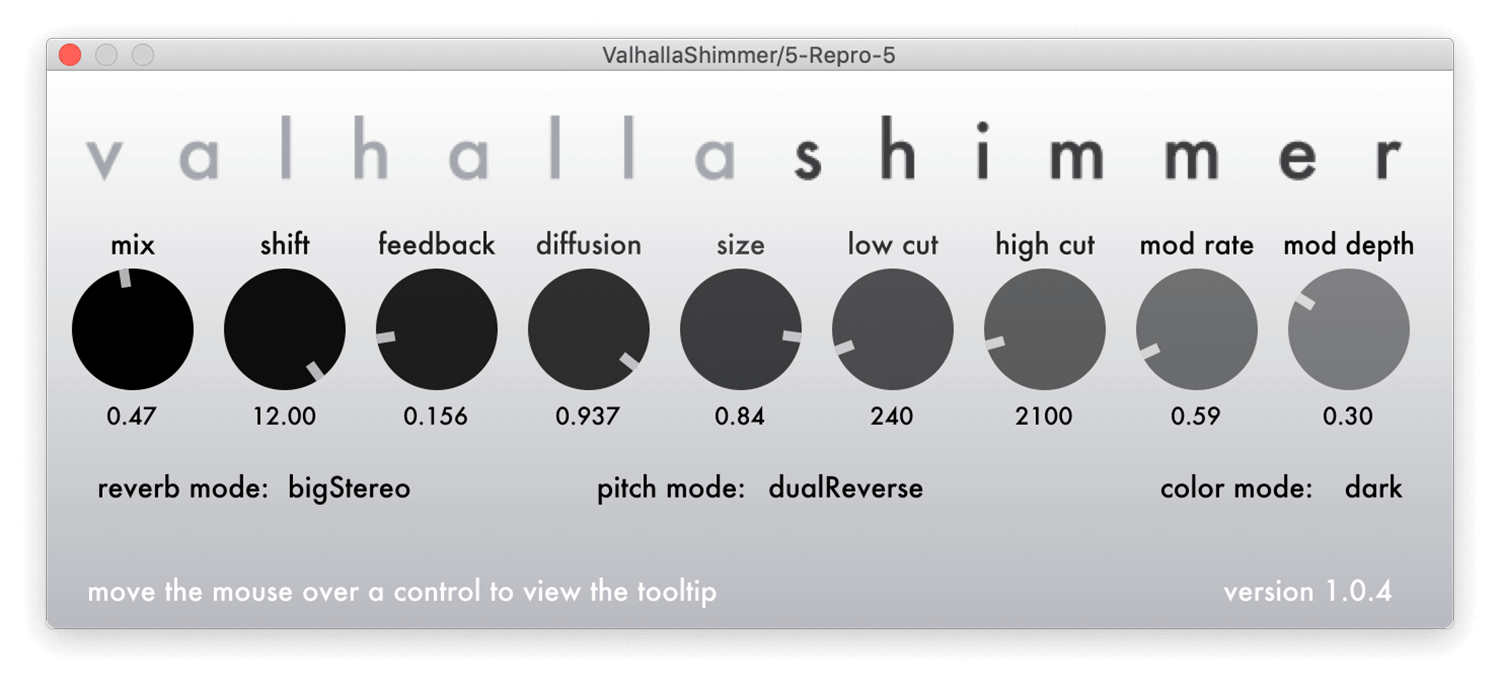
The EQ cut removes all the high-end energy from the reverb signal, resulting in a dark tail much like the original track. The second reverb provides the ‘ethereal’ sound, and I used Valhalla ShimmerVerb on Big Stereo / Dual Reverse mode, with feedback at 0.156 to add some subtle high-pitched shimmer texture in the background.
To recreate the distant piano sound, I used Arturia’s Piano V, although any sampled piano instrument will work, and ran it through a similar VintageVerb setting to the pad, this time with decay set to a shorter 2.33 seconds and high cut set to 3700Hz.
Privilege Escalation
The main synth patch in Privilege Escalation is quite an interesting one, in that it uses pulse-width modulation to create a rising and almost-disappearing sound. A long attack envelope is used to modulate the square waves pulse-width, and as the pulse-width increases, the sound becomes thinner. At the extreme end, the pulse wave becomes so thin it’s almost inaudible, and the sound almost disappears.
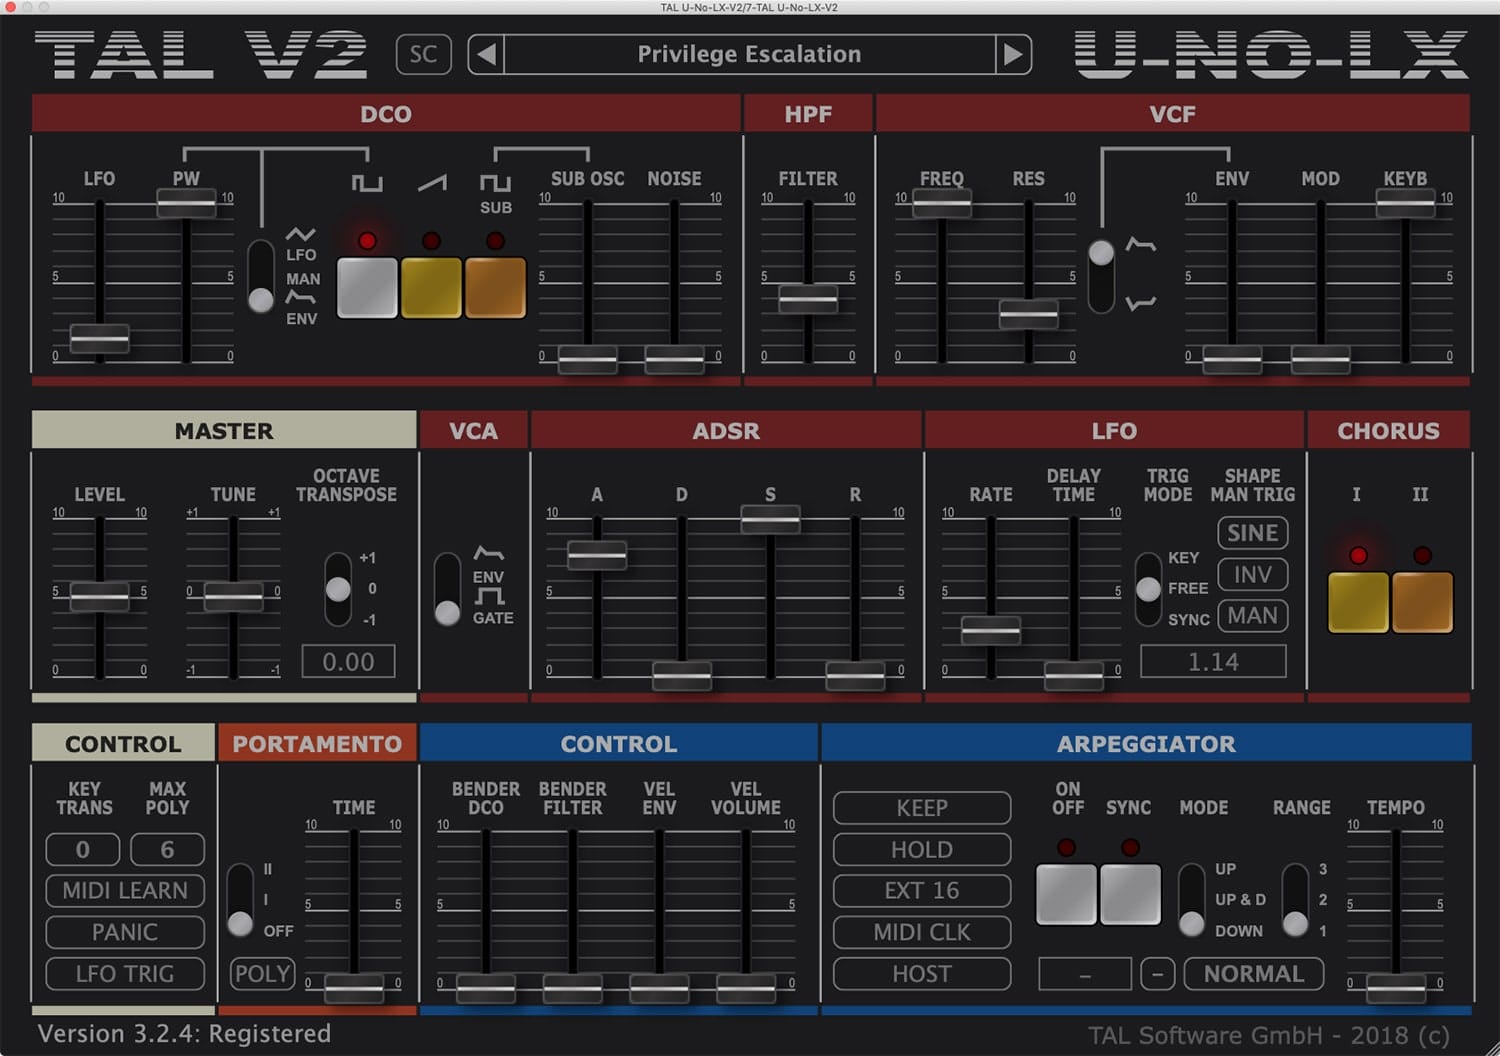
You can use TAL U-NO-LX with a single square wave oscillator to create the patch. Set the LFO fader to 1.5 to add vibrato, and the PW fader to 10, with the mode switch next to it set to ENV. Now set the ADSR envelope’s attack time to 8, which will be used as the modulator for the square wave.
Turn on the Chorus I effect. Now, when you press a key, the square wave’s pulse-width (PW) will increase in time with the ADSR’s attack time; pretty cool! Process the track by boosting the high-end and adding delay/reverb to get it to sound a little less dry
- Privilege Escalation Pad00:00
The next patch is a swelling pad that slowly rises in volume to fill in the space of the 4th bar of the phrase. To program it, use detuned sawtooth waves with a small amount of slow vibrato. To create the actual swelling effect, you could automate the volume in your DAW, which would give you more control over the curve of the fade in, however here I’ve opted to set the patch’s ADSR with a long attack and no release, so I can create the swell just by holding a chord, which is much more fun!
- Privilege Escalation Swell00:00
The huge, distorted bass patch is using unison mode, along with detune, chorus and distortion effects. Unison mode is found on some polyphonic synths and causes all the voices to double the note played. In this mode, detune causes all the voices to play slightly out of tune, which can sweeten the sound at low settings, and add instability at high settings.
I created the patch using u-he Repro, with the onboard effect Lyrebird providing the chorus, the onboard distortion on Hard Clip mode with mix set to 30%, and lastly the Sonic Conditioner effect to bring back to the width a little bit. After Repro, I EQed the bass track, cutting 500 Hz and boosting 1.21 kHz to brighten it up. This patch is similar to the bass patch from my Tears for Fears – Shout remake so be sure to check out that article for more applications of unison-bass.


Hi, your synth sound breakdowns are amazing, any possibilty to have a remake of ultrafiche of you? The main synth is perfect but really hard to recreate,
(The soundly courses doesnt tell anything about it..)
The main trick for the pluck sound is a DAW-synced ping-pong delay. Adding compression after the delay can help to sustain the repeats as they are on the recording. I haven’t tried to recreate it yet though.
Hi! Can you tell me if you put a specific effect on the Juno Privilege Escalation Swell? I’m trying to replicate it and there’s always something missing 🙁 Maybe a flanger? I downloaded the presets but it doesn’t seem to be the same as the other pad.
Hi Juan, I processed the swell patch with delay, an EQ treble boost and a compressor. No flanger or extra modulation apart from the chorus in Repro!
Ultrafiche of You is also my favorite. Would be cool to have you break that one down at some point.
Another very great Tutorial. Have you ever tried The Legend? It´s my alltime alternative to Arturia`s Mini. It sounds much fatter, warmer and dirtier – much mopre close to the original IMO. You should definitely have a look!
I haven’t, looks nice though!