
Homeshake is the project of Peter Sagar, a chilled synthpop musical artist from Montreal, Canada. I previously looked at how he creates his sound in my article HOMESHAKE Synth Sounds, where I concentrated on songs from 2017’s Fresh Air and 2015’s Midnight Snack.
He has since released a new album, entitled Helium, which continues Homeshake’s exploration of R’n’B influences and takes the chilled-out aspect of his music to new lengths of chill.
In a recent interview with Red Bull, Homeshake’s studio is shown to be centred around a Roland Juno-60, replacing his previously used Korg Poly-61, a Dave Smith Prophet 08 REV2, replacing his OG Prophet 08, and a brand new Elektron Analog Rytm MKII handling drum duties. Another key piece of gear that Sagar relies on is the Roland SP-404, which he used to use for drums, but still uses for processing his voice and triggering samples live.

For this article, I’ll listen to some of the new sounds on Helium, and dive into how they are created. For the patches, I’ll use Arturia Prophet V and TAL U-NO-LX, emulations of the SCI Prophet-5 and Roland Juno synths, respectively. You can get similar sounds from both synths, especially when you use the chorus effects on a Prophet, so it’s likely that some of the article’s Prophet sounds originally came from the Juno and vice versa. Feel free to follow the walkthroughs using whatever synth you feel comfortable with. Enjoy the article and check out the free patches download at the end of the article!
“I usually sit down in front of the Juno and start playing the simplest chord progression and try to make it as fun as possible,” he explains. “The arpeggiator on this synth is the best one I’ve ever played with. Another cool thing with this synth is if you hold a chord and then play another chord it stays in time and just switches the notes. I just like to fuck around until I get something I like.” – Homeshake
Just Like My
Homeshake’s signature synth sound, at least on Helium, tends to consist of square wave oscillators run through long filter modulation with varying amounts of LFO vibrato to make the pitch drift in and out of tune. On Just Like My, the main keys sound uses two simple square waves, no pulse-width or detune is needed.
The patch can be easily created in Arturia Prophet V, simply start with the template patch Pro5 2 Osc, switch the oscillators from sawtooth to square and lower oscillator B’s fine-tuning knob to 0%. Tune one of the oscillators down an octave (12 semitones) and lower its volume in the mixer section to halfway, giving the patch more low-end. In the filter section, set both the cutoff and envelope amount knobs to the 10 o’clock mark.
Set both the filter and amp envelopes up with no sustain and decay/release times set around the 3 o’clock mark. Raise the attack of the filter envelope to 11 o’clock, to create a rising effect at the beginning of each chord. Turn on Prophet V’s built-in chorus effect and set the wet/dry mix level to 9 o’clock.
For the lead sound, we want a creamy brassy patch, which the Prophet synths excel at creating. Use a single pulse oscillator for this patch, simply turn off oscillator B and set oscillator A’s PW knob to the 2 o’clock mark. Create another plucky envelope, only with no release and some sustain, allowing for funky, clipped notes, but also letting you extend long notes over two bars.
You can also dial in the vibrato that plays at the end of the phrase in the LFO and wheel-mod sections. Set the LFO’s rate to 5.59 Hz, make sure only the freq-A and B buttons are lit in the wheel-mod section, and dial in the amount with the modulation wheel when you want to add the vibrato. This is a great technique to add to all lead patches, as it emulates the vibrato used in vocal performances, as well as many instruments.

Nothing Could Be Better
Nothing Could Be Better is upbeat, with pop inflections and is built around a simple chord vamp. The synth patch itself is similar to the first patch we just created for Just Like My, only with a single oscillator instead of two. Set the cutoff knob to the 9 o’clock mark and the envelope amount to 1 o’clock to create a brighter sound than the previous patch. There is also more chorus on this patch, so you can use the onboard chorus again, but set the mix level to halfway.

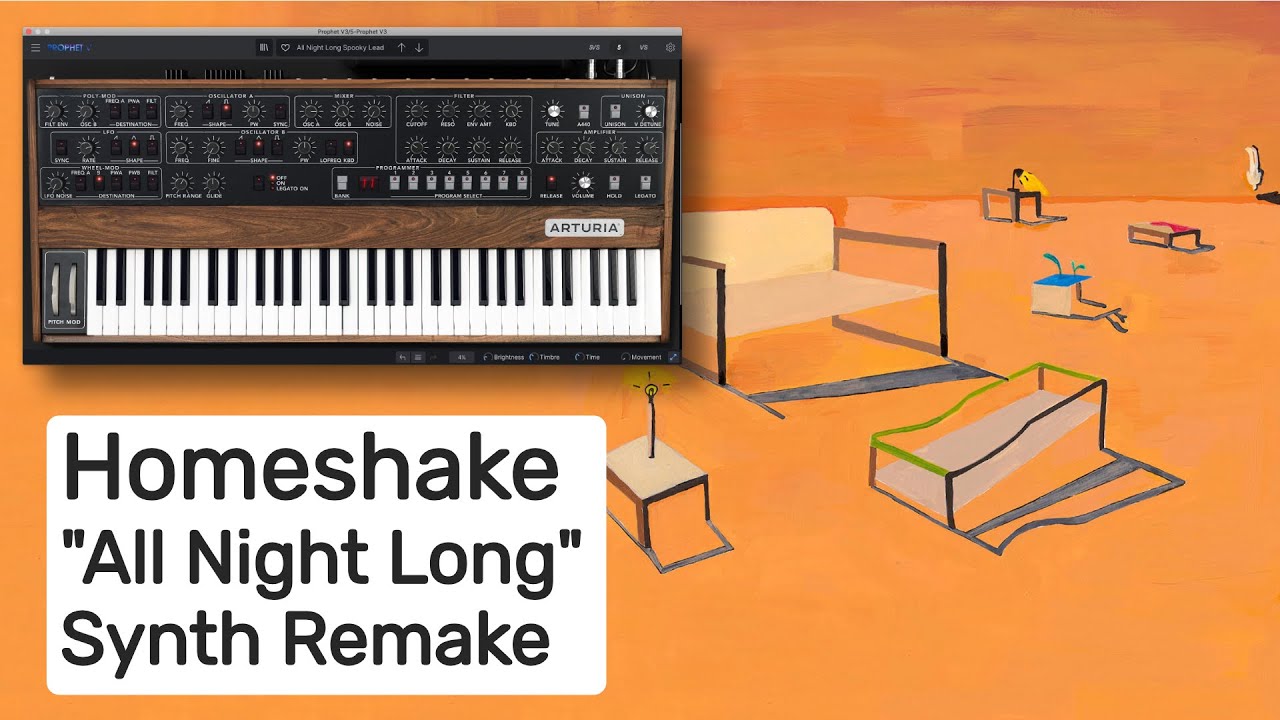
All Night Long
All Night Long opens with a spooky-sounding melodic pattern, before being accompanied by lush chords. The lead sound is particularly bright in tone, so use a triangle wave from Prophet V’s oscillator B mixed with oscillator A’s square wave. Bring the volume of the square down slightly in the mixer section to get a better balance of the two waveforms, as the square wave will be naturally louder.
Set up the filter as we have done before, only with some resonance to add even more brightness to the patch. You can also set the release of the amp envelope to be much longer than the filter envelope, which will cause the notes to trail and blend after being released. This patch doesn’t need the chorus effect, but use delay and reverb with high mix settings to get it to sit in the back of the stereo space.
For the lush synth pad, I’ll turn to TAL U-NO-LX, a software synth that emulates the same Roland Juno-60 that Sagar has in his studio. From the default patch, turn off the saw and sub waveforms and turn on the square waveform, raising the PW fader to the 1.5 mark.
Set the filter by lowering the cutoff to 3.5 and setting the envelope fader to 2, which will route the envelope to the filter, creating subtle movement. Set the VCA mode to env instead of gate and set decay to 8, sustain to 3 and release to 6. The final touches are to add pitch drift to the oscillator, which is done with the LFO settings, and turn on the chorus I effect.
Another Thing
The synth patch that plays the jazz-inspired chord progression in Another Thing can also be created in TAL U-NO-LX, this time combining a pulse wave and sawtooth wave. For the pulse wave, set the PWM mode to manual, and the PW fader to halfway. Set the cutoff frequency to 0, resonance to 2 and envelope to 7, which will create pronounced envelope movement that sustains at 0.
Set the envelope up similarly to the one in All Night Long, but set the attack fader to 4, creating a filter rise at the beginning of each chord that sounds great with the resonance we added. Lastly, use the chorus I effect to finish off the sound.
The bass sound is a simple sawtooth pluck patch that can be created in any synth, just remember to keep it sounding dark. For the fast arpeggios that play, I use Prophet V to create a bright pluck patch, although the original part may have come from the Roland Juno-60 with the arpeggiator running.
Set oscillator A to square with PW set to 0.90, and oscillator B to triangle. In the mixer section, set oscillator B to maximum volume and oscillator A’s volume knob to the 3 o’clock mark. Set the cutoff knob to minimum and the envelope amount knob to almost-maximum, with no sustain and decay time set to 660ms.

Like Mariah
Finally, let’s look at Like Mariah, the title of which is an expression of Homeshake’s admiration of Mariah Carey. To create the main synth patch that carries the song, use a square/sub combination in TAL U-NO-LX. Set the volume of the sub waveform to halfway, and raise the PW fader to 1. Raise the HPF fader to 3, which will filter out the low-end, leaving more room for the slap bass part in the mix.
Set the frequency of the main filter to 4 and the envelope fader to 3, and set the envelope with a long attack and medium release. Lowering the keyboard fader in the filter section will reduce the filter’s keyboard tracking, effectively making the higher notes less bright. Finish the patch with LFO vibrato and the chorus I effect.


Any experience with the Roland boutique series (Ju-06A specifically) for recreating these sounds?
Could you please do one for jerry paper especially the song reprogram ourselves